Acrylic – popularly known as Plexiglass, is a prevalent form of plastic due to its numerous beneficial properties. Transparent acrylic sheets, for example, exhibit outstanding optical clarity, whereas colorful acrylic sheets come in a variety of shades.
Unfortunately, it scratches readily in contrast to glass or more robust plastics like polycarbonate. This not only gives the acrylic an unpleasant appearance but also compromises its durability.
While a soft fabric and acrylic-friendly cleaning product can easily remove a tiny scratch, removing a larger scratch frequently requires rigorous sanding followed by scrubbing and polishing. If your acrylic window has a foggy appearance, you can use a polishing machine to remove it.
Thankfully, repairing scratches in acrylic is generally far easier than causing them in the first place.
Ways To Remove Scratches From Acrylic
Most of the scratches can be removed from the acrylic glass with a few simple tools. Only a few steps separate you from removing these blemishes and putting your plexiglass sculpture back to life. To learn all of the great tactics and tips for cleaning acrylic, read this guide.
Examine the Scratched Acrylic for yourself.
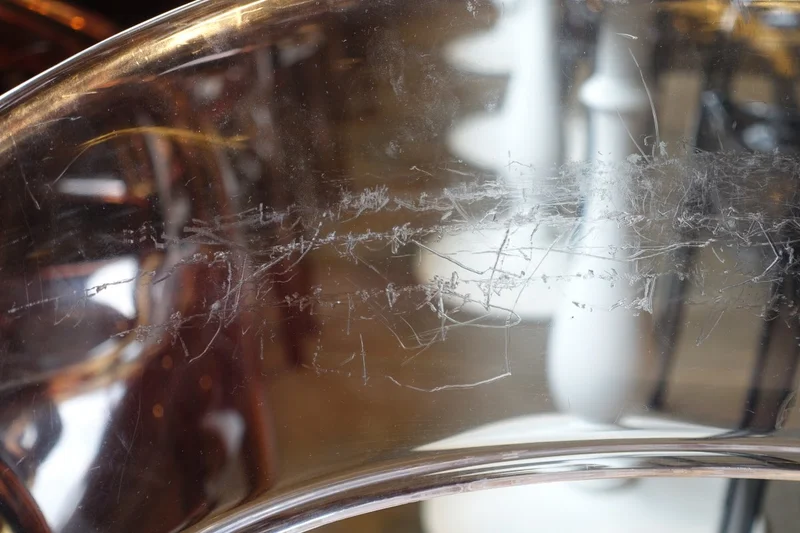
Common scratches on acrylic plastic
Before you start fixing marks in acrylic, check sure the scratched area is genuinely scratched. Then we’ll figure out how deep the scratch is, which will assist us in deciding on the best extraction method.
Deep fissures are difficult to repair. If you need to fix a cracked acrylic piece, there are several choices for gluing acrylic together. But, the acrylic may not be wholly joined, and some adhesive excess may be evident. There’s not much you can do if this isn’t suited for your acrylic’s use case, and that is why we would suggest you buy a new acrylic film or switch to a tougher plastic like polycarbonate.
How to Get Rid of Scratches
Scratches come in various degrees of severity. Surface marks that appear hazy, light scratches, and deep scratches that are tougher to remove are all instances.
Items Required To Remove Light Scratches On Acrylic.
You’ll need the following items to erase light scratches from your acrylic:
800 and 1200 coarse sandpaper
an acrylic or plastic polish
Water
Process
Dampen a part of grit sandpaper and run it in a clockwise direction over the designated area, then resume with a dry sheet of the very same coarse sandpaper for around three minutes – you’ll have to alternate between these wet and dry sheets. Don’t be surprised if the acrylic starts to seem icy or has more scratches on it; this is normal.
After that, switch to the 1200 grit sandpaper and repeat the process until all scratches have been removed.
Finally, use a clean piece of cloth to dry the area before applying the acrylic polish. The end outcome should be an acrylic piece that looks brand new and has no apparent marks.
How to Get Rid Of Deeper Scratches To The Acrylic
Deeper scratches take a little more work to erase, but they aren’t necessarily hopeless. First, run your fingertip over the scratch to see how deep it is; if it catches, it’s a deep scratch, and the following procedure may help you remove it.
Items Required To Remove Hard Plexiglass Scratches
The process for repairing deeper scratches is similar to that for light scratches, except that we’ll be using 600 sandpaper and Novus No. 3. Start by gathering the items listed below.
Acrylic Paint
Clean, soft cotton fabric
Sandpaper
Water
Process
While the procedure is similar to the one described previously, you’ll start with 600-grit sandpaper this time. Soak one piece of 600-grit sandpaper and apply circular motions for roughly three minutes over the scratched area, alternating with a dry piece.
Repeat with the 800 gritty paper for a few moments more, then finish with the 1200 paper until the marks are gone.
After drying the area with a soft cloth, use the acrylic polish to restore the sheen.
Flame polishing thin acrylic sheets (less than 4mm thick) and then sanding or buffing the sheets will restore the glossy finish. Choosing an excellent-grade acrylic polish that keeps the acrylic’s clarity and can be handled safely at home is less time-consuming and speedier.
When Everything Else Fails…
As you can see, maintaining your Plexiglass or acrylic windows can be done in various ways. You will be able to clean their fixtures with a microfiber towel and mild detergent in most circumstances.
However, the damage is more likely to develop in high-density areas, so knowing how to buff away holes, scratches, and other imperfections is important. If you don’t feel confident or knowledgeable enough to clean or buff your acrylic yourself, hire a professional!
Tips
Cleaning chemicals containing ammonia should be avoided since they might cause a cloudy effect instead of fixing the appearance of an acrylic window or any other acrylic product. Check the packaging carefully, and only use products that have been particularly developed for use on acrylic.
If you want to properly clean accumulated dust from an acrylic item, avoid the impulse to rub it off with a dry cloth, since this can just entrench the dirt and dust, causing more scratches.
Final Thoughts
Whether acrylic products are used at home or in the workplace, it is a grim fact that they can be scratched by accident. Acrylic’s physical qualities, thankfully, make it simple to buff with particular, mildly abrasive treatments. With just a few essential pieces of equipment and a little more physical effort, you can quickly repair a scratch on the acrylic that is less than 5 mm deep.
If your acrylic window has an intense crack, has split, or has seen severe unhinging, it may be time for a replacement, and you should get yourself a new one!