Your RV is a legitimate “house on wheels” – but that means that you’re not just on the hook for regular vehicle maintenance (which is critical), but you need to take care of home maintenance on the go as well.
A lot of new RV owners don’t realize just how much maintenance they’re going to have to do to keep core systems like plumbing running. Especially when the temperature starts to drop.
If you are dealing with an RV that has a little bit of ice built up inside of the plumbing system, or if you want to be sure that you melt any potential ice out in a hurry before it bursts any pipes, you’ll want to know if antifreeze can handle the heavy lifting.
Find out more in this detailed guide!
Will RV Antifreeze Melt Ice?
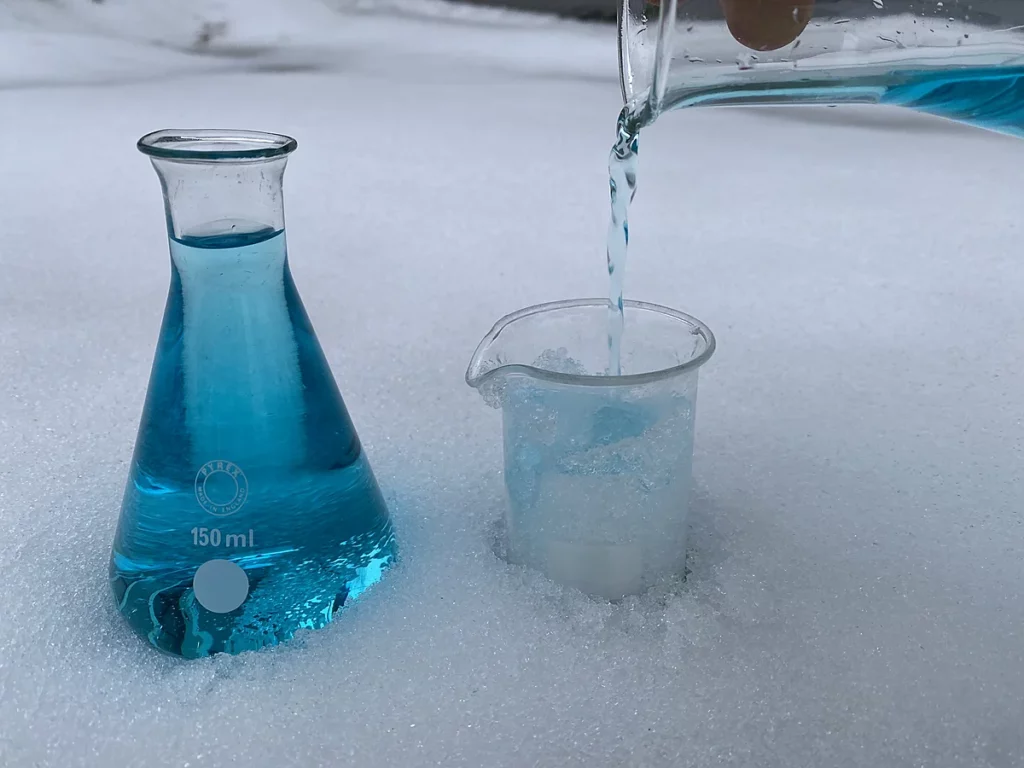
Right out of the gate we can tell you in no uncertain terms that RV antifreeze can and will melt ice – not just gummed up inside of your plumbing, either, but any ice inside or outside your RV.
Yes, you are reading that correctly.
A little bit of RV antifreeze can knockout any ice problem you are dealing with (within reason, course).
You might not be able to melt an entire iceberg with a bottle of RV antifreeze. But you’ll be able to flush your pipes that have frozen up, clear your RV steps, and get rid of any ice that might have solidified on the outside of your driver and passenger side door handles.
Now that we’ve gotten that out of the way, let’s run through how you want to use RV antifreeze to melt ice in the first place!
Prep with a Bit of Hot Water on the Ice First
Before you reach for antifreeze it might be a good idea to flush your systems with some piping hot water if that is at all possible.
Plenty of folks have had a lot of success flushing hot water they boiled up on their RV stove down toilets and through every sink and drain, breaking that ice free (especially if it hasn’t had time to build up and completely solidify).
It’s always worth a shot before you go to the “big guns” of chemical intervention.
Confirm You’re Using the Right Antifreeze
The next thing you need to do is guarantee that you are only ever using antifreeze that is 100% non-toxic.
This generally means using an RV antifreeze product that uses propylene glycol as its “backbone ingredient” as opposed to ethylene glycol or straight ethanol products.
Those toxic chemicals aren’t just going to flush through your system and then disappear. They are going to wreak havoc throughout your plumbing components, and could end up in your glass or your cooking pot if you flushed your kitchen plumbing components with this kind of antifreeze, too.
Propylene glycol antifreeze (and other non-toxic antifreeze options) are usually a little bit more expensive than ethylene glycol and ethanol options.
They are well worth the premium price tag, though, especially when you don’t have to worry about your health or wellness being jeopardized along the way.
If you’re using RV antifreeze as a “flush” to melt away ice, make sure that it’s safe to do so I had of time.
Apply Antifreeze to the Impacted Areas
Another big piece of the puzzle here is making sure that you are only using enough antifreeze to flush the system and melt the ice, not to completely cover every square inch of your RV plumbing (anything else that you are trying to deice, either).
For one thing – as highlighted above – propylene glycol antifreeze is a little bit on the expensive side of things. This isn’t the kind of stuff that you want to pour out on a whim or willy-nilly.
Secondly, even though you should only be using non-toxic antifreeze you still don’t want anybody getting into this stuff – even accidentally. Even just a little bit of this dribbled on the ground can be a real nightmare for pets or wild animals to get into.
Apply RV antifreeze until the ice you’re looking to get rid of has been removed and then stop.
If You’re Not Getting the Results You Want, Mix in a Little More Water
If you aren’t getting the results that you are after, though, you might actually want to add a little bit more water into the mix – especially if temperatures are ice cold.
As soon as the temperature starts to register 20°F even the highest quality RV antifreeze products are going to get a little slushy.
Chemicals and fluids in these products start to create a crystalline structure, and even though they won’t totally freeze up until you start talking about -50°F (or below) it’s still pretty tough to melt ice with frozen slush.
A little bit of warm water cut into high-quality antifreeze can be just the jumpstart needed to get that fluid to slice through the ice in your plumbing system and melt it completely.
How Do I Defrost My RV Plumbing Lines and Holding Tank?
If you haven’t ever had to melt out or defrost your RV plumbing lines (or your holding tank) here’s a quick guide to help you hit the ground running.
Prep
The first step is making sure that your RV is brought indoors or at least covered so that you can crank up the temperature inside and hopefully start some ambient melting.
If you do this out in frozen, exposed conditions you’re going to be fighting elements and all the ice and slush that might have already built up in your plumbing lines or holding tank.
Find the Tank and Lines
The next thing you need to do is find the tanks and plumbing lines that you’re looking to get defrosted.
This usually involves busting out the owner manual, tracking down your tanks and lines, and making sure that you are flushing the components that you are trying to flush and not just wasting a bunch of time, money, and RV antifreeze.
Flush the Tank and Lines
Now is the time to flush your tanks and your lines, making sure that anything that can be removed is removed before you send in the antifreeze or hot water (or a combination of the two).
The odds are pretty good that your tanks are going to fill up with some pretty nasty looking fluid as you flush the pipes into them. But you want to make sure that there’s plenty of room and space in those tanks for this fluid to end up.
Bring the Heat
If antifreeze and hot water hasn’t been enough to defrost your tanks it may be time to apply heat more directly.
Stick a heat gun or a blow dryer directly inside of your tanks and run it on full blast. Move the heat gun or blow dryer are around to make sure that every nook and cranny gets hit. The idea here is to not stay in one space that could damage or melt the plastic in the tanks or any of the plastic fittings and components in your plumbing system.
This should be more than enough to loosen things up, though.
Dump Tanks
Now is the time to dump these tanks of any of the antifreeze or hot water fluids that you’ve been flushing through the system. This should only take a short while, but it is absolutely imperative or you’ll end up with another freeze up on your hands.
Replace with Antifreeze and Additives
The last thing you have to square away is a double check that everything is good to go, that everything is working the way it should be, and that your tanks and plumbing lines are hooked up correctly.
Add fresh antifreeze and other winterizing additives into the mix if you are going to be storing your vehicle rather than driving around and you should be good to go!