If you’re a first-time RV owner or you have never done any roof work on one that you do own, you should at least know the basics of repair and preventative maintenance. Sealants are the way to go on RV roofs and it’s especially important around the end caps.
Self-leveling sealant is the best all-around sealant to use when repairing, replacing old sealant, or sealing for the first time. While it can be labor-intensive, it’s not an overall difficult task. You simply have to remove the old sealant, and precisely place the new.
You probably thought that RVs have a solid, shell-type roof and, for the most part, it is. However, certain sections—such as the end caps. There has to be some level of separation along the body of an RV to counteract forces that cause the RV to bow and shift, especially out on the road.

Tools You Will Need
You don’t need much. Believe it or not, this isn’t a complex job by any means. But there are some important tools to have and they’re largely inexpensive.
- Plastic Scraper
- All-Purpose Lysol (Spray) Cleaner
- Caulk Gun
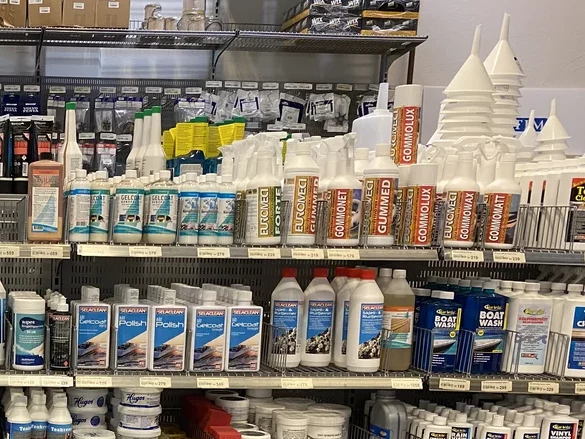
- Self-Leveling Lap Sealant
- Standard Caulk
- Rags for Cleaning
That’s all you should need to get the job done, regardless of whether you are applying new sealant, replacing the old, or just doing some minor renovations on the roof.
Remove and Replace Self-Leveling Sealant
Of course, if you’re applying new sealant, just ignore the part about removing the old and skip ahead. It’s a fairly simple process but there is a couple of extra pointers that will go a long way towards making this a perfect DIY project.
What you want to do first is get rid of the old sealant. For this, you’ll need your handy plastic scraper. You don’t want to use a metal one because you could easily damage your roof.
Take the plastic scraper and work up the edges of the old sealant. If you’re removing sealant that seals a painted part to the rougher portion of the RV roof, lay the scraper down on the paint side and slides it under the sealant, towards the rough side. Keep it at about a 15° angle.
Work your way all the way down the line of old sealant, working perpendicular to the line until your reach the end. Once you’ve raised up a good lip on the sealant, work your way back across again, this time scraping along the line or parallel until every bit of the old is up.
- Clean along the edges of the remaining sealant residue with your rag and Lysol
- Remove any large chunks of old residue
- Go back and make sure the edges of the old sealant (out to one inch) are very clean
- Cut your self-leveling sealant tip off at a 45° angle
- Lay down two beads of standard caulk
- Lay down your first of around five or six total beads using the self-leveling sealant
When you lay down your first bead, you want to follow the line, just at the edge of the old sealant on one side, all the way down (this is the one-inch line that you cleaned). Do the same for the other edge of the old sealant. You’re using the standard sealant to do this
What you’re doing is creating a barrier for when the self-leveling sealant spreads out, it will stop at the small bead of standard caulk that you’re laying down at the old sealant’s edges
Now, using the self-leveling sealant, do two beads just at the edges of where one section of the roof meets the next, followed by a final bead directly down the centerline. The final bead needs to be applied very liberally.
The self-leveling adhesive will do just what it says and will level itself out instead of looking like one, gigantic fat worm running down the roof of your RV. However, those smaller (index finger) barriers will stop it from spreading way too far out.
It’s important to note that the standard sealant barrier isn’t necessary. The self-leveling sealant will level out and spread farther without the barrier.
However, this is not going to be the first time that you have to do this and you don’t want to waste a lot of self-leveling sealants that’s just sitting on a flat roof it will also make your job much easier if you have to take it up later for repair or replacement.
Final Thought
Overall, not a bad job at all. There’s just the labor-intensive part of taking the old sealant up if that’s something that you need to do. Otherwise, it’s a great DIY project that will keep your RV roof maintained for a long time to come.


